✨ Made with Daftpage
Ledger.com/start – Simple 800-Word Beginner’s Guide (Plain Language)
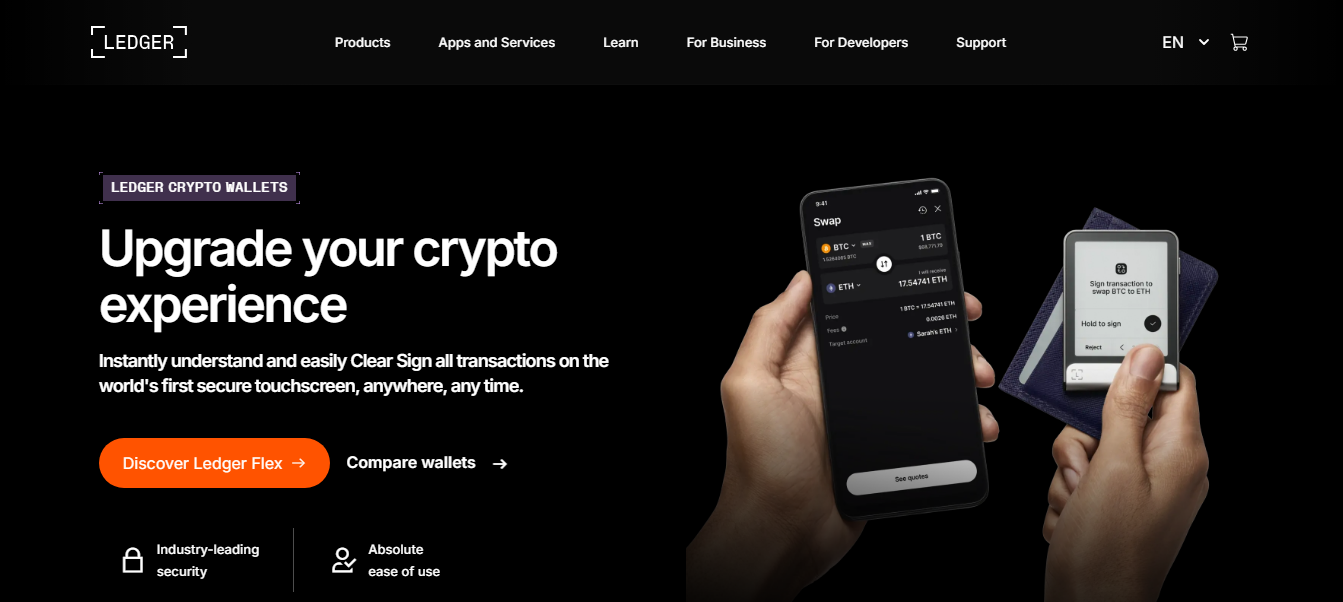
Cryptocurrency has become more popular than ever, but with this popularity comes a rising risk of hacks, scams, and security breaches. If you want to protect your digital assets, using a hardware wallet is one of the safest choices you can make. Ledger is one of the most trusted hardware wallet brands in the world, and the official place to begin setting up your device is Ledger.com/start.
This guide explains what Ledger.com/start is, why it’s important, and how to set up your Ledger Nano S Plus or Ledger Nano X step by step.
What Is Ledger.com/start?
Ledger.com/start is the official setup page provided by Ledger, designed to help new users install, configure, and secure their hardware wallet. It is the safest place to:
Download the Ledger Live app
Learn how to use your Ledger device
Set up your PIN and recovery phrase
Install crypto apps
Add accounts and manage your coins
Using the official start page is very important, because fake or unsafe websites sometimes try to trick users into revealing private information. Always type the URL manually and make sure the address begins with https:// for extra security.
Why Ledger Hardware Wallets Are Trusted
Before starting the setup process, it helps to know why Ledger is so widely used in the crypto community.
1. Your Private Keys Stay Offline
A hardware wallet keeps your private keys stored inside the device’s secure chip. They never touch the internet, which protects your crypto from hackers, malware, and phishing attacks.
2. Supports Thousands of Cryptocurrencies
Ledger wallets support more than 5,000 coins and tokens, including Bitcoin, Ethereum, Solana, XRP, Dogecoin, USDT, and many more.
3. Works With Ledger Live
The Ledger Live app allows you to buy, send, receive, swap, and stake crypto using trusted partners. It becomes the main dashboard for your crypto portfolio.
4. Proven Security
Ledger uses a certified secure element chip (CC EAL5+), the same type of security used in passports and credit cards.
How Ledger.com/start Helps New Users
The setup page provides everything a beginner needs in one location. When you visit the site, you will see instructions tailored to your device model. The page also includes safety reminders, video tutorials, and links to official downloads.
The setup process includes:
Downloading Ledger Live
Selecting your device
Initializing your wallet
Setting a PIN
Writing your recovery phrase
Installing apps
Adding crypto accounts
Even if you’re new to crypto, the process is simple and guided.
Step-by-Step Setup Guide Using Ledger.com/start
Step 1: Visit the Official Page
Open your browser and type Ledger.com/start.
Do not click random ads or search results—only the official website is safe.
Step 2: Download Ledger Live
Ledger Live is the app you need to manage your hardware wallet.
It is available for:
Windows
macOS
Linux
Android
iOS (limited functions)
Once downloaded and installed, open the app.
Step 3: Select Your Ledger Device
Inside Ledger Live, click “Get Started” and choose the model you bought:
Ledger Nano X
Ledger Nano S Plus
Ledger Flex
Then select “Set up a new device” to begin the configuration.
Step 4: Set Up Your Device
Now your hardware wallet will guide you through the most important step—creating your private keys.
1. Set a PIN
A 4–8 digit PIN code will secure access to your device. Each time you plug in your Ledger, you must enter this PIN.
Choose one that is hard to guess.
2. Write Down Your Recovery Phrase
Your Ledger device will show you a 24-word recovery phrase.
This is the master key to your crypto.
Follow these rules to stay safe:
Write the words on the recovery sheet provided
Never store them on your phone or computer
Never share them with anyone
Don’t upload them to the cloud
Keep your sheet in a safe offline location
If anyone gets your 24 words, they can steal your crypto.
If you lose these words, Ledger cannot help recover your funds.
You will be asked to confirm the phrase on the device to make sure you wrote it correctly.
Step 5: Connect to Ledger Live
Unlock your device with the PIN and connect it to Ledger Live.
Ledger Live will run a genuine check to confirm that your wallet is authentic and not tampered with.
Step 6: Install Crypto Apps
Each cryptocurrency requires its own app on your Ledger device.
Examples:
Bitcoin → Bitcoin app
Ethereum → Ethereum app
Solana → Solana app
You install these apps from My Ledger inside Ledger Live.
Your device memory is limited, but don’t worry—you can uninstall apps anytime without affecting your funds.
Step 7: Add Accounts in Ledger Live
To manage your coins, you must create accounts.
In Ledger Live:
Click Accounts
Select Add Account
Choose your crypto
Follow the steps to sync your wallet
Once done, you can send, receive, or hold cryptos securely.
Important Safety Tips
To stay safe while using your Ledger wallet, remember:
Only use Ledger.com/start for setup
Never share your recovery phrase
Beware of fake support messages—Ledger never asks for your 24 words
Keep your device and recovery sheet in a secure place
Always verify the address on your device screen before sending crypto
These simple habits prevent most security risks.
Final Thoughts
Ledger.com/start is the trusted and official place to begin your hardware wallet journey. Whether you’re new to crypto or an experienced trader, setting up your device correctly ensures strong protection for your digital assets. With Ledger Live, managing your portfolio becomes simple, secure, and convenient.